Manage Servers
Every JAMS Client must connect to at least one server. If the JAMS Server Service is installed on the same machine as the client, a server definition is automatically added that points to the local server.
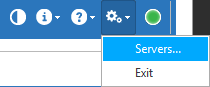
You can add, edit, or remove JAMS Servers from the Settings icon in the top right corner of the JAMS Client.
Adding a Server
- Click the Settings icon in the top right corner and select Servers.
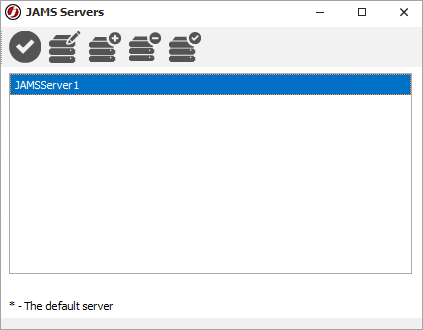
- Click Add to open the JAMS Server definition dialog.
- In the Server Name property, enter the name of the server as it will appear in JAMS.
- Enter the Node Name as the actual Windows Server name of the JAMS Server.
- If required, modify the Port property.
- Set whether JAMS should Prompt for Authorization when connecting to the Server.
- Enter a Username and Password to connect to the JAMS Server.
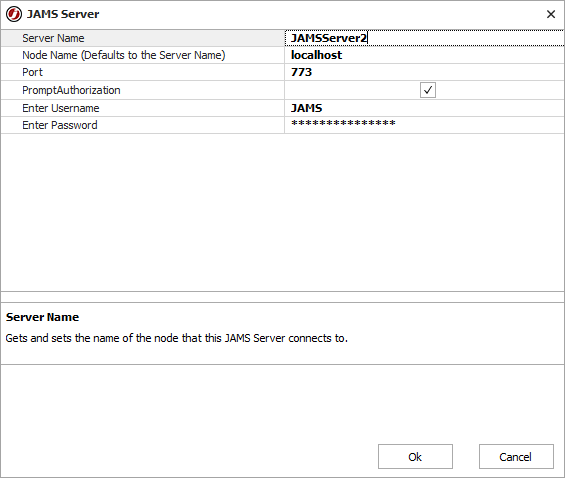
- Click Ok.
Modifying the Server Properties for Kerberos
When opening the JAMS Desktop Client in an environment where Kerberos is enabled, you may receive the following types of errors:
- "The Server has rejected the Client credentials."
- "Authentication failed on the Remote side."
- "NT Authority\Anonymous Logon."
- "Access Denied."
- "Cannot Generate SSPI."
For users on a Kerberos-only network, the JAMS Desktop Client will not be able to connect to the JAMS Server until the Kerberos option is enabled. By default, this option is disabled.
- Click the Settings icon in the top right corner and select Servers.
- Select the specific server from the list.
- Click Edit.
- Select the Kerberos checkbox.
- Click Ok.
If the JAMS Server has been set up properly in Active Directory for Delegation and all necessary SPNs have been registered, JAMS will authenticate successfully.
Modifying the Server Properties
- Click the Settings icon in the top right corner and select Servers.
- Select the specific server from the list.
- Click Edit.
- Modify the properties as shown in the screen above.
- Click OK.
Removing a Server
- Click the Settings icon in the top right corner and select Servers.
- Select the server from the list.
- Click Delete.
- Confirm the settings and click OK.
Setting a Default Server
- Click the Settings icon in the top right corner and select Servers.
- Select the specific server from the list.
- Click Set Default.