Essentially, every component in JAMS supports or controls how a Job is defined or run. At its core a JAMS Job incorporates a number of properties and resources that ensures that it executes at the right time and under the proper conditions.
In a nutshell, a Job is a task, script or command that can be run on a variety of systems including: Windows, Unix, and PeopleSoft.
Adding a New Job

- To create a new Job, activate the Jobs View by clicking on the Definitions Group in the Shortcut Bar and selecting the Jobs shortcut.
- Choose the Add button on the Ribbon Bar to access the JAMS Job Definition Wizard.
- Select Next to open the wizard's Jobs Name page. Enter a unique name for the Job along with an optional description. Click the Next button.
- The Execution Method page follows. Here you can view and choose from a listing of execution methods by clicking the File Browser button.
- Select Next to access the Notification Email Addresses page where you can supply one or more addresses to alert staff members if a Job fails or doesn’t complete within an allotted time.
- On the next page, verify the user account for this Job using the dropdown list or by entering a valid username and password.
- On the Source page you can (optionally) enter the Job’s commands. Click the Next button.
- Moving to the Schedule page, use the Scheduled Date dropdown to define a built in schedule or manually enter single or multiple date specifications. Click Next.
- Press the Finish button to complete the Job definition process.
Modifying an Existing Job
- To make changes to an existing Job, open its properties window by right clicking (or double-clicking) the desired Job listing.
- From the Job’s context menu select the Properties command.

The Job's properties window appears. Select the tabs to make the desired Job modifications.
.png)
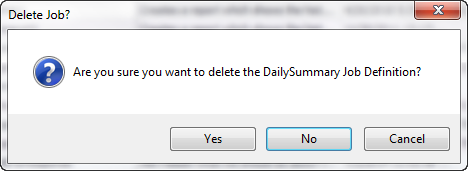
Deleting an Existing Job
- Navigate to the Jobs View in the Shortcut Bar
- Highlight the Job to be deleted
- Click the Delete button on the Ribbon Bar.
- Confirm the deletion by clicking Yes or alternatively choose the Cancel or No button.
See Also